Creating a Graphic within Macromedia Dreamweaver or Microsoft FrontPageAdding a graphic created with Webstyle to a Dreamweaver or FrontPage document is a quick and simple 4 step process. And it's just as easy to edit it later if you decide to change it! This tutorial will demonstrate how to insert a Webstyle NavBar into Dreamweaver, but the process is the same for any of the other Webstyle graphic types and very similar if you are using FrontPage. In
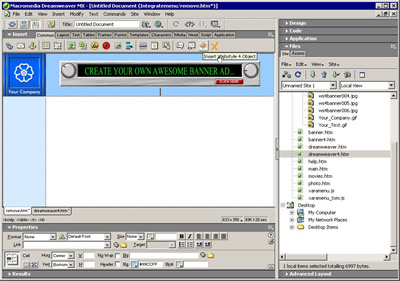
Dreamweaver/FrontPage, place your cursor where you'd like your graphic
to appear
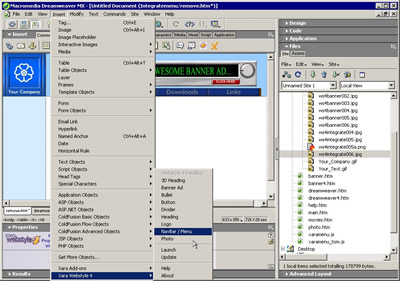
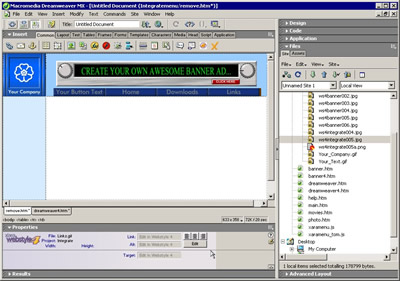
Once you have created and saved your NavBar in Webstyle, it will be placed exactly where your cursor is. Of course, once it is in your HTML editing program, you can move it about just like any other graphic. Click the Webstyle Icon or select from the insert menu
When you installed Webstyle a new 'Webstyle' option was added to the insert menu of Dreamweaver / FrontPage and a new icon was added to the Dreamweaver toolbox. Now if you go to the insert menu and select Webstyle and then NavBar, Webstyle will start and open directly at the preview page for NavBar designs. Choose
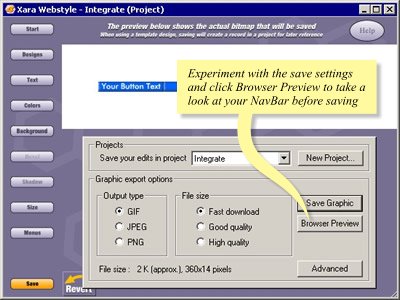
and customize a design from the Webstyle templates 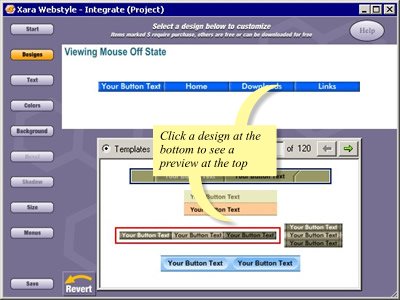 Now you can customize the graphic by clicking the buttons down the left hand side, which will open the editing dialogs. As you make changes the image will be instantly updated in the preview window. Refer to the Intro tutorial for help on editing the Webstyle graphics.
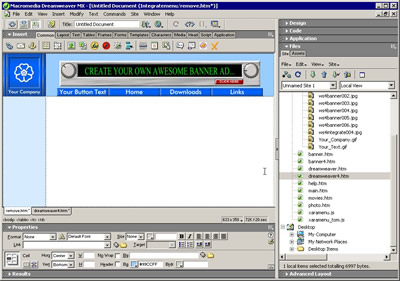
And here you can see the final result with the NavBar inserted into the page.
You can edit the graphic again by simply selecting it and clicking Edit in the Property Inspector in Dreamweaver, or double-clicking on the graphic within FrontPage.
It really is as simple as that, in just a couple of minutes you can insert a customized NavBar complete with mouseover state into your Dreamweaver/FrontPage document, without having to worry about copying across the graphics, the HTML or the JavaScript - all that has been automatically created and placed into the Dreamweaver folder.
|