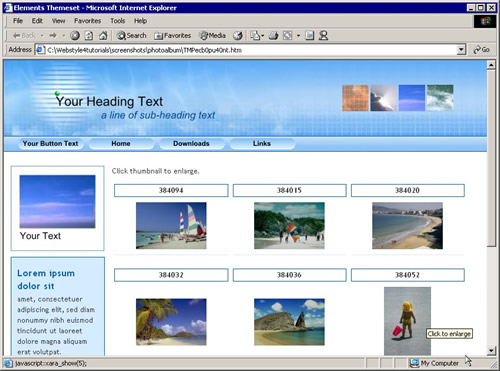
The Webstyle album
builder is not just a great way to create a photo album web page, but
also a great way to organize all your photos.
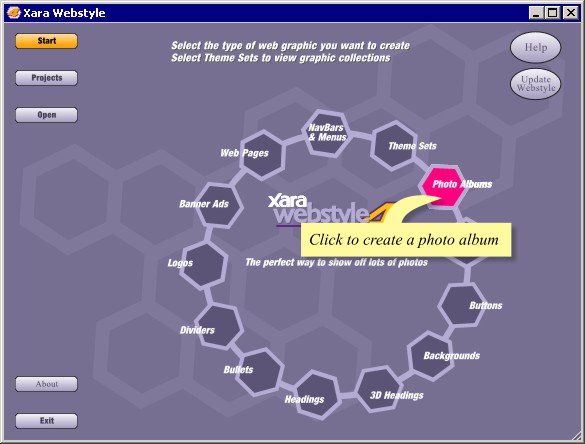
You can create any number of albums with Webstyle, to start on your first select Photo
Albums on the opening screen.
Click the Album
icon on the menu bar to create a new album. A pop up will ask
you to give the album a name. You are now ready to start creating your album.

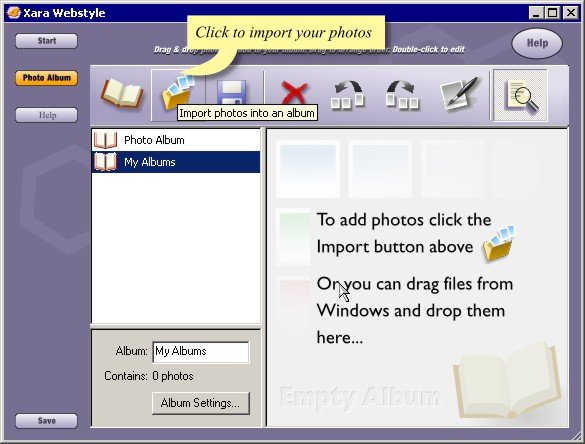
There are two ways
to add photos to the album. The first is to click the Import
button on the menu bar – then navigate your way to the folder
containing the images you wish to use.
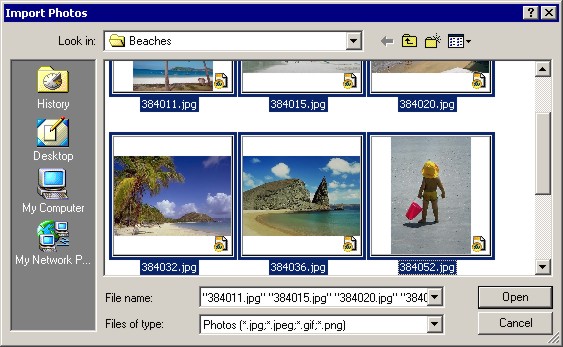
By holding down
the control key you can select multiple images to import.
You will now be
presented with a dialog box to establish the settings for your album.
These can be altered at any time during the creation process, so, for
the moment accept the default settings and proceed with adding images
to your album.

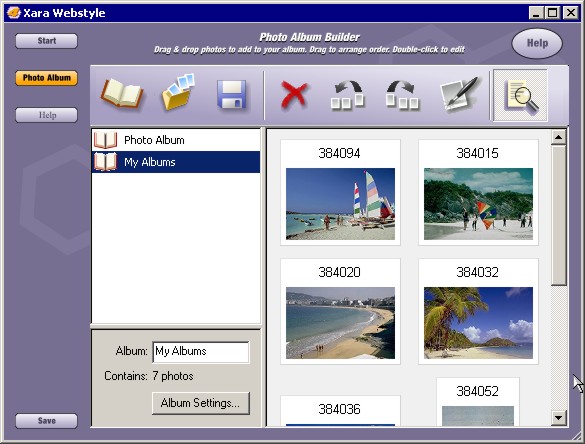
Webstyle
will now load each image and create a thumbnail in the preview window.
The alternative
method to import your photos is to simply drag and drop from a Windows
folder.
Now you can begin
to customize your album to allow visitors to identify the images easily.
So, click on the
first photo and you will see a Properties Window that
displays information about the image.
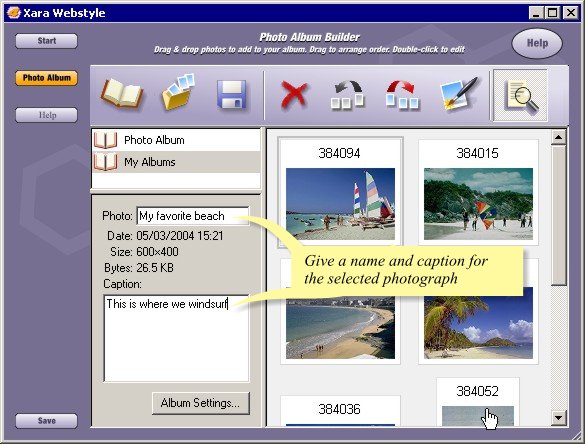
The first editable
field shows the photo's title. Webstyle takes the first part of the
filename by default, so if this is not a sensible name you can change
it now to something more friendly.
Next, you can add
a caption to your photo to give visitors a little more information.
Repeat this procedure
for the rest of the images.
At this point it
may be a good idea to sort the order of your pictures by using the up
and down arrows on the menu bar. Or it may be easier to simply
click on an image and drag and drop it in the position you would like
it.
One of the most
useful features of Webstyle is the ability to edit and enhance your
images using Webstyle's own ultra fast photo editor. If an image is
a little dark, simply doubleclick on it to open it in the Photo Editor.
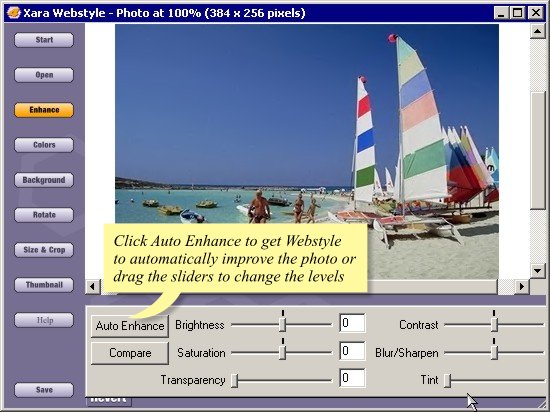
Auto Enhance
uses advanced algorithms to analyze your photograph and set it to display
at optimum brightness, saturation and contrast. But you may have ideas
for something a little more creative and you can experiment with the settings
individually. Remember Webstyle photo editing
is non destructive so it will preserve all the attributes of your original
image.
If you are now happy
with the way your images look and the order in which you will display
them, click on the Album Settings button to check the photo and thumbnail sizes.
A default photo
size is selected.
If instead you would like the photos to display at their original size simply
uncheck the Set photo size option, or otherwise check the size
you would like the images displayed.
Next set the size
for the thumbnails.
If you are now happy
with the look and order of your images, click the Save
button. This will automatically
switch Webstyle into web page editing mode where you can select a template
to host your album.
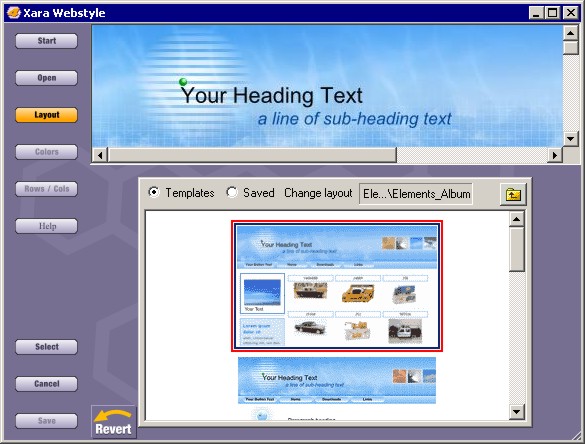
Here you can alter
the number of rows and columns used to display your images and take
advantage of all Webstyle's web page editing features.
When you are completely
happy click Save and watch Webstyle take care of all the hard work.
|

