|
To begin making
your first web page just click the Web Pages option from the starting
screen.
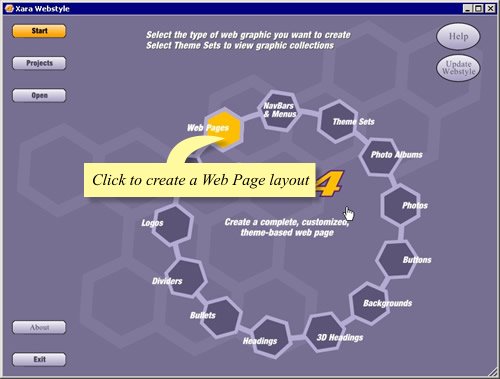
You can now select a theme of your choice from the wide
range of professionally created
page designs available in Webstyle 4 (all templates shown in the trial are included). And remember, each design can be
infinitely customized to suit your own requirements.
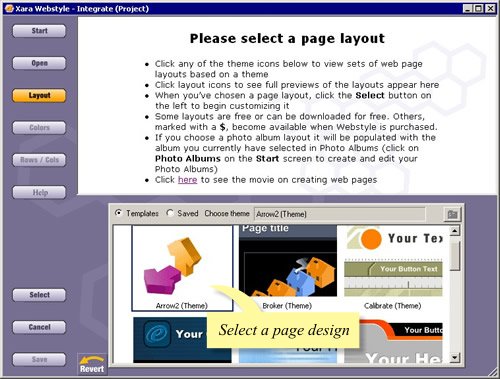
Once you have selected a
design, a range of web page layouts will be displayed. Simply choose
the layout you require and the page will appear in the top preview window,
exactly as it will appear in your browser.
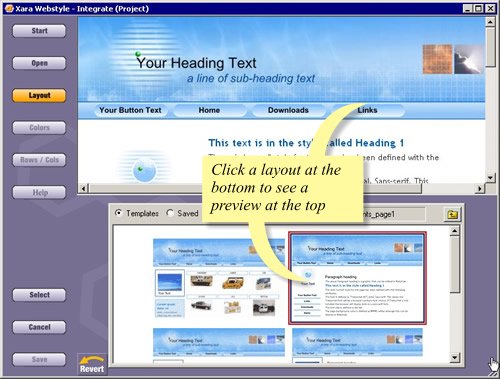
Each theme has a range of
layout options allowing you to achieve a consistent, professional look
and feel throughout your site.
Click on your chosen layout in the
preview window and you will see a dialog box telling you the elements
of the page are now editable.
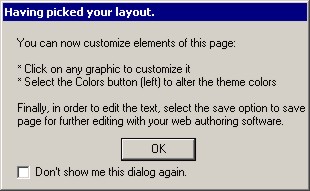
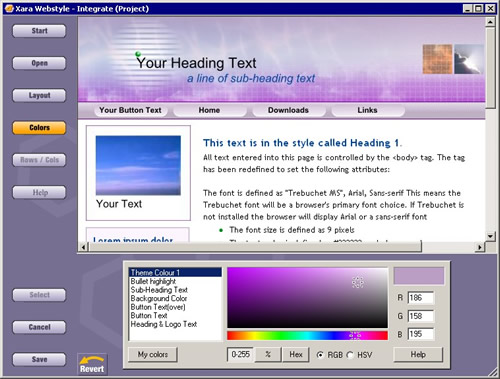
Although created
by professional web designers, the color of the page may not be exactly
what you are looking for. Webstyle pre-selects the Colors button on the left automatically
so you can start changing things immediately.
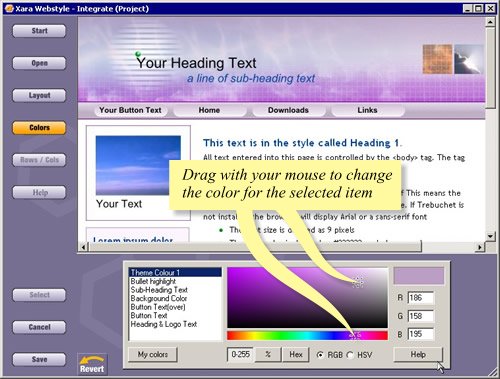
As you can see there are
a several elements that can be changed. By selecting “theme color
1”, and moving the cursor inside the color panel you can change
the shade of each design element. Or click on the color bar for more
dramatic color changes.
You can see the changes in the preview windows as
they are applied to each element, making experimentation extremely easy.
This procedure can be followed
for all of the colors used in the layout.
When you are happy
with the result we recommend that you save the page, before you continue
with the customization process. Click on Save.
If you wish to give this project a
name other than the default one, select New Project. Give the project a name and click Create.
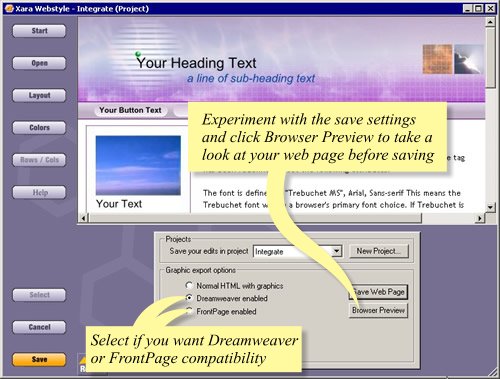
Now choose whether you want
to edit the text of the page in FrontPage, Dreamweaver or another HTML
editor. You can use any HTML editor to change the content of your page
but both Dreamweaver and FrontPage have additional integration that
allows you to edit Webstyle elements from within the HTML editor itself.
Finally save the
web page to the root folder of your web site. The graphics will be saved
to a separate folder alongside the HTML page, with a name relating to the HTML filename. In this
case we saved the HTML file as Integrate, so the graphics will be placed
in a folder called Integrate_files.
Webstyle will have
returned you to the starting screen. If you wish to continue with the same page now or re-edit it later,
select projects and open the folder containing the web site you are working on (in this case Integrate). You will then
see a thumbnail image of the completed web page. Click on it to re-open the design in the preview
window. You can change other elements on the page, such as headings, NavBars and logos in a similar
way to the colors, described above.
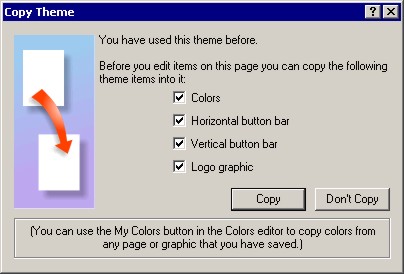
Webstyle can copy
all the changes you made to this first page to any other layouts in the same design theme. Simply select
Web Pages again, select the same Theme and open a
new layout. When you click on the preview window
a dialog box will list which elements you can copy from the
last page of that theme that you saved. Check the items you wish to copy and click
Copy.
You can now relax
while Webstyle makes all the changes for you. This enables you to keep
consistent colors, logos, NavBars and menus throughout your site.
|

