|
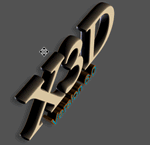
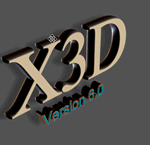
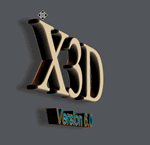
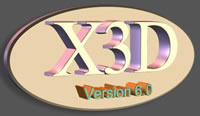
 Welcome to Xara3D, a fast and powerful program for producing high quality 3D headings, titles and logos for use on the Web and elsewhere. 3D programs are notoriously difficult to use, but this short tutorial will show you just how easy it can be with Xara3D to produce stunning quality still and animated 3D graphics in seconds. Welcome to Xara3D, a fast and powerful program for producing high quality 3D headings, titles and logos for use on the Web and elsewhere. 3D programs are notoriously difficult to use, but this short tutorial will show you just how easy it can be with Xara3D to produce stunning quality still and animated 3D graphics in seconds.
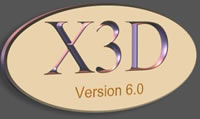
We’re showing a text heading in this tutorial but you can just as easily create 3D graphics from imported 2D shapes. The first stage is to adjust the position and angle of the heading, which is simply a matter of dragging with the mouse over the heading. This freeform dragging allows you to view the heading from any angle.
|
|
|
|
Simply click and drag on the image to rotate |
To change the text click on the text icon ( )on the toolbar to open the editor. You can just type or delete in the usual way. )on the toolbar to open the editor. You can just type or delete in the usual way.

Text Editor
Try selecting alternative fonts, and precisely controlling all the normal formatting options.
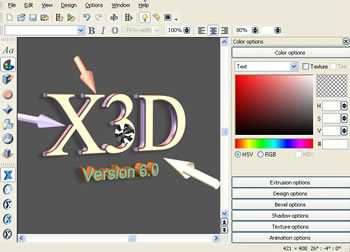
The Option Bar can be used to set almost all the attributes of your heading and background but you can also use the buttons the toolbar to access each of the controls.
In Color Options, you can alter the color or texture of the heading and the background.
Color Options
For this tutorial we’re using a plain background with white text - the text appears colored on screen because we have colored lights shining on it, as we'll see shortly.
You’re not limited to just using plain colors. You can use imported texture bitmaps to color the text and this can give stunning results.
You can also import a bitmap as a background. This is really useful for web graphics where you might want a heading to blend perfectly into the web page background.
This drop down menu allows you to choose which element of the image you would like to work on. As you can see you can select the whole heading, only the faces, only the sides, the background, individual lights or the shadow.
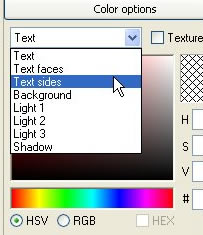
Select the element you wish to work with.
You can even alter the color of one letter at a time by clicking on the cursor icon, using the arrow and shift keys to select the letter and then adjusting the color options.
You can apply most other effects on a per character basis in the same way, including animation. You can also alter the background color. Of course, all the changes you make are immediately reflected in the preview image.
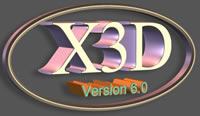
You can create some really eye catching effects by adjusting the lighting.
Xara3D has three separate colored lights shining on the object, and you can see these by pressing the light bulb. ( ) )
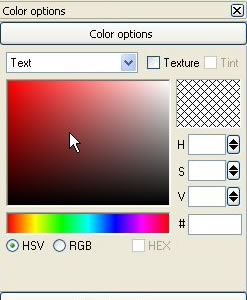
In this case we have three colored lights shining from above, behind and the side of the text. The striped light controls the position of the shadow. To alter the light just drag the arrows. You can see the lighting change on the text as you do this. This is as simple and as straightforward as it could be. To change the color of a light simply double click it. This displays the color options dialog where you can adjust the shade of the color by dragging in the color box
or adjust the hue by dragging on the color strip. You will see that the image is instantly updated.
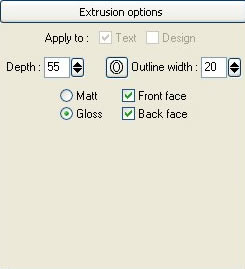
Let’s move now to the Extrusion Options.
Extrusion is the 3D depth of an object. You can make it shorter or you can make it longer. You can also simply drag on the preview image when the cursor changes to this icon.

Click and drag to Extrude
You can also choose whether it should be gloss or matt and the thickness of the outline.
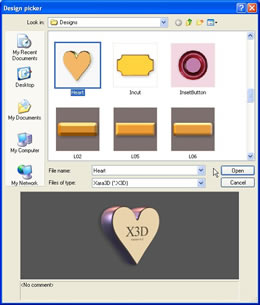
Another really cool feature, the Design Option, allows you to place your heading on a board, with or without holes, or to create buttons and border styles.
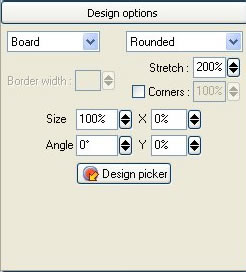
With a single click you can transform your heading into a shape of your choice
These options take the attributes of your heading, but of course you can alter the bevel and extrude, the color and wording using the normal tools.
By clicking here,  you can pick one of the many pre-designed shapes to make your life even easier. You could of course, just as easily use an imported shape of your own. you can pick one of the many pre-designed shapes to make your life even easier. You could of course, just as easily use an imported shape of your own.
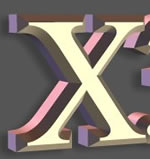
The bevel option allows you to choose from 27 different bevel edges…
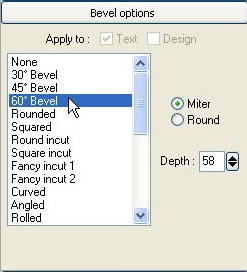
…such as a simple 60 degree bevel or perhaps something more complex like this bumpy one.
For each bevel type you can adjust the bevel size. Xara 3D also lets you chose whether the extrusion should be mitred or round.
You may notice that it takes a second before drawing the highest quality image - this is the Xara3D anti-aliasing working, which causes the image to be rendered at high quality, fully anti-aliased after just a second.
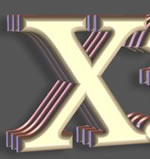
To create an impression of depth, or floating above the page, you can give the heading a shadow. So select the Shadow Options.
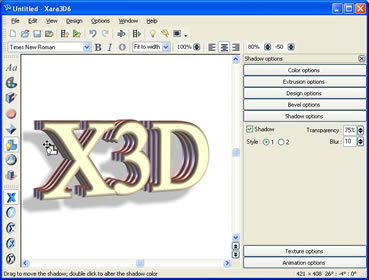
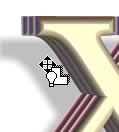
You can reposition the shadow by simply dragging it on screen when you see this cursor.
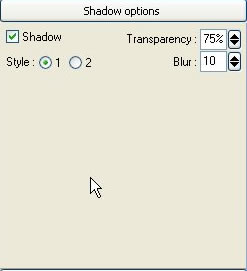
Or by using the selections in the panel.
You can alter the transparency of the shadow or you can blur the edges to create realistic effects.
Once you have an image that you like , you can move on to another powerful Xara3D feature - how to alter the animation controls. We’ve kept the animation controls simple but the results can be very impressive.
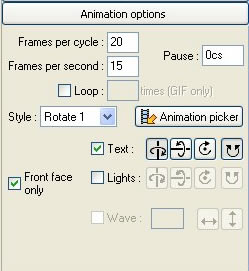
You select the options you want from the Animation Options.
To preview the animation you simply select the animate button (  ). ).
Xara3D produces absolutely smooth animations, and you can even continue to adjust the settings while the image is rotating. The animation controls couldn’t be simpler - you can alter the animation speed, number of steps per revolution, the direction, the number of loops and you can pause the first frame. You can also rotate the text and the lights separately. There’s loads of animation types to choose from rotation around the center, swing, pulsate, fade, ripple and wave.
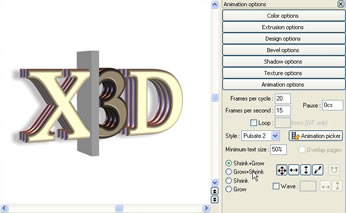
You can even apply different animations to each individual letter in your heading!
To animate individual letters, simply select the cursor tool  and using the arrow and shift keys select the letter you wish to apply a separate animation. Now use the options dialog to choose your animation. and using the arrow and shift keys select the letter you wish to apply a separate animation. Now use the options dialog to choose your animation.
Creating an animation is simple, but it can be even quicker! If you click on the Animation Picker 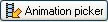 you’ll find a collection of ready made animations - click on any one of these and you’ll see a preview of your current heading with the values of the example animation applied to it: you’ll find a collection of ready made animations - click on any one of these and you’ll see a preview of your current heading with the values of the example animation applied to it:
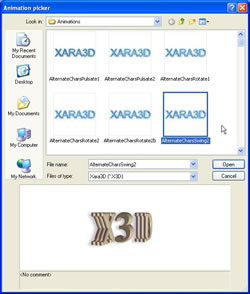
This saves you a tremendous amount of time in trying to recreate a great animation.
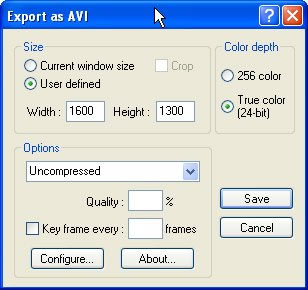
... now save your heading as a FLASH file, an AVI movie, or an Animated GIF for use straight away on a web page.
That’s about it for this quick tutorial. I hope you'll agree this is a seriously cool product, and probably the easiest 3D program you'll ever find, and it produces stunning quality images. The Xara3D CD contains over 700 examples to set your creative juices running.
|